TB 43-0149
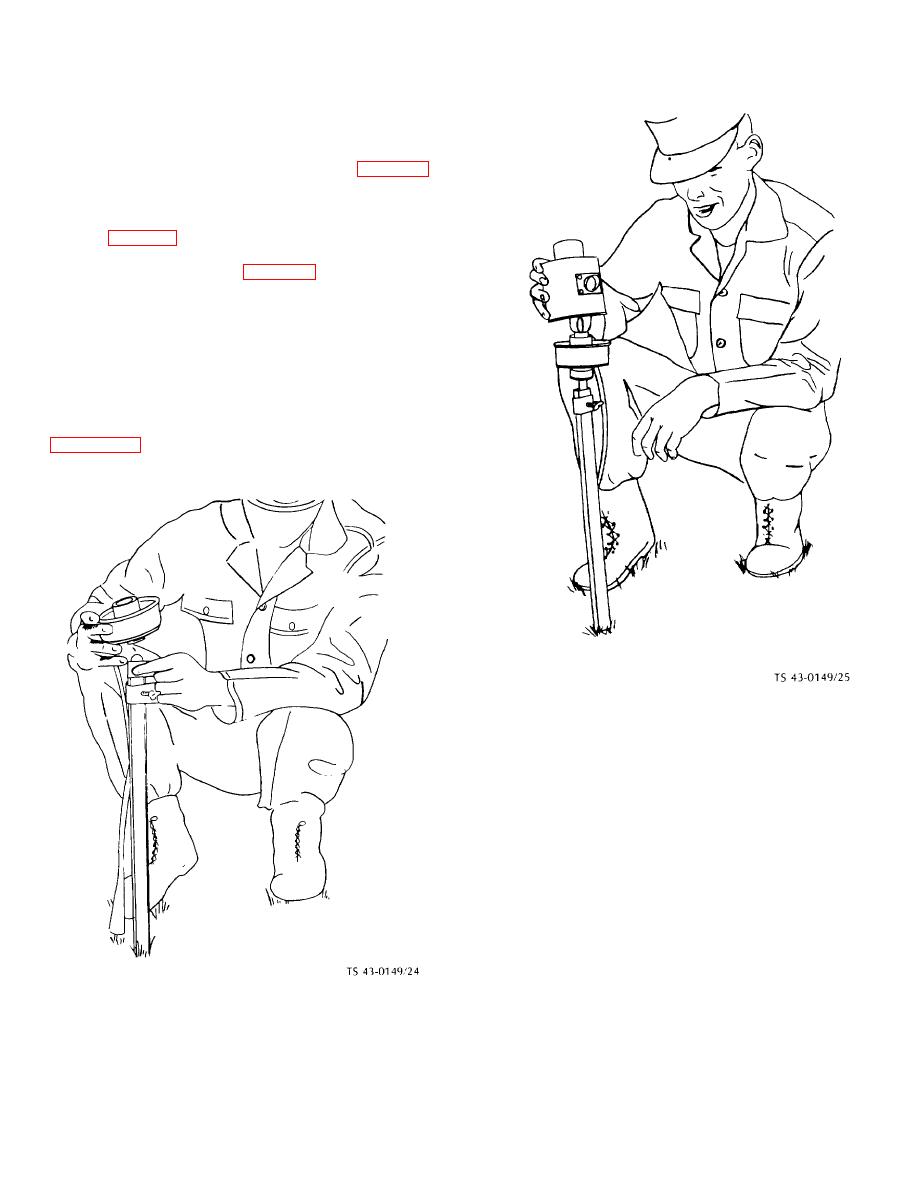
(3) The top half of the mounting adapter, with the
fixture attached, is reassembled with the bottom half by
placing the two together and tightening the retaining
rings (figure' 24). The combat hood is then placed on the
fixture and fastened with the clamping ring (figure 25).
The fixture is then leveled by placing the circular level
provided over the hood; loosening the retaining ring; and
adjusting the fixture until level and oriented with the
runway (figure 26). The ring is then tightened to lock the
fixture securely. The fixture lead is then connected to
the transformer secondary (figure 27). The glide angle
indicator light is installed by attaching the glide angle
approach light adapter to a driven stake, then attaching
the light and leveling with the levels provided on the
light. The generator, current regulator, and runway
circuits are then connected. The current regulator is
connected to the generator with two single conductor
cables furnished with the regulator. When the lighting
fixtures are to be mounted on cones in areas where
stakes cannot be driven, the procedure described in
are utilized instead of lenses.
Figure 25. Installation of lighting fixture in combat area -
installing combat hood.
Figure 24. Installation of lighting fixture in combat area -
reassemblying mounting adapter
17


